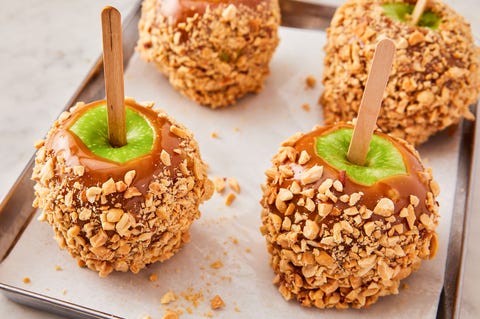
How To Make Amazing Caramel Apples

There’s no treat more synonymous with fall than the caramel apple.

Caramel apples are one of Fall’s greatest pleasures. Not only are they easy to make, they’re also super fun to personalize! Follow these easy step-by-step instructions and have an autumnal treat in no time!

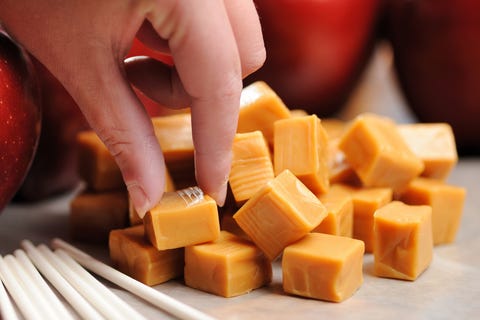
Unwrap your candies.

image

Making caramel isn’t easy, and without a candy thermometer, it’s impossible. In the case of candy apples, we opt for a less challenging route—with caramel candies! (We swear by these Kraft caramels.) One bag will get you about 4 candy apples, so stock up accordingly!

Unwrap all your candies and place them in a small sauce pan. While you’re add it, assemble your other ingredients too! Wash and dry your apples, stick ’em with popsicle sticks, and place your toppings on a shallow plate.

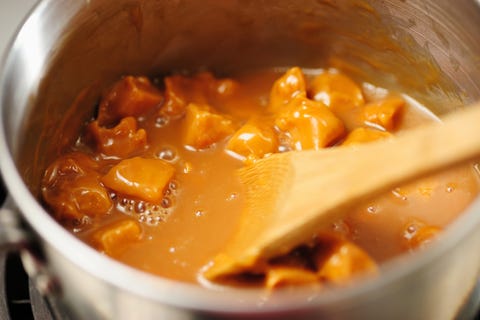
Melt your candies.

image
GETTY

Place your candy-filled pan over medium-low heat. Grab a wooden spoon or plastic spatula and stir frequently until candy is completely melted. (That means NO lumps.) Don’t take your eyes of the pan for too long! If the caramel burns, it’ll get bitter. PLUS you’ll have to scrub your pan like crazy.

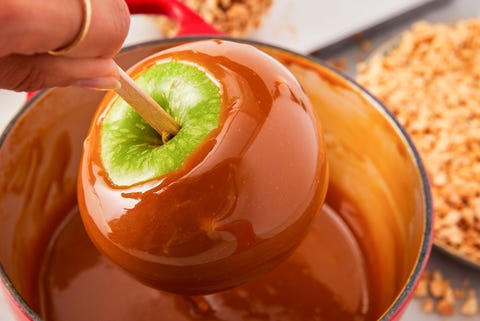
Get dippin’.

image
KAT WIRSING

Remove your pan from heat and work quickly to coat your apples in caramel. We like to hold the handle of the pot and tilt it towards us so the caramel pools on one side. When you get down to the very bottom of the pot, use a spoon to coat your apple, as if you were basting a steak with butter.

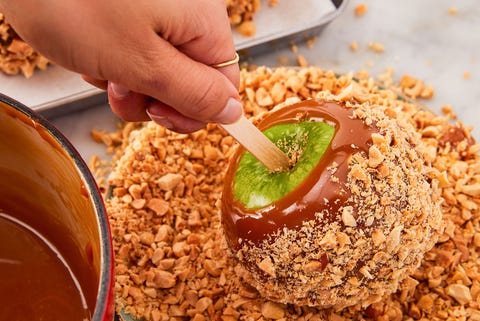
Coat ’em in the goods.

image
KAT WIRSING

As soon as you finish coating each apple with caramel, dip them directly in your toppings. We love toasted chopped peanuts (shown here) but you could dip your apples in pretty much anything. Think: crushed cinnamon cereal, chopped Reese’s Pieces, multicolored sprinkles, chopped Oreos… the list goes on and on.

Refrigerate.

image
KAT WIRSING

Once all your apples are coated, place them on a baking sheet lined with parchment paper and refrigerate them. This helps the caramel set up, so you don’t have a slide-y, sticky mess when you serve them.

From Delish.

Comments